"I chose UT Martin because of the welcoming atmosphere and the sense of community on campus."
Hannah Kirby
Psychology
CAMPUS LIFE
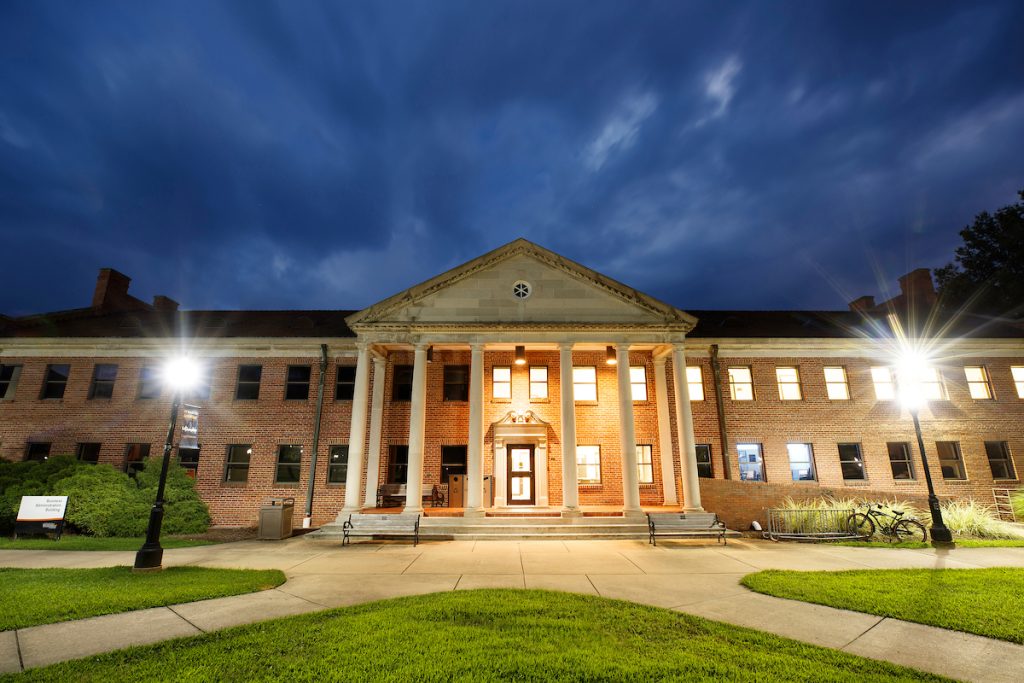
SMALL TOWN VIBE. TOTAL COLLEGE EXPERIENCE.
UT Martin is more than going to class or getting a degree. We're about making connections that last a lifetime. From the moment you step on campus, you're surrounded by a sense of community and purpose. Your path begins here.
FLY WITH US
When you graduate from UT Martin, you’ll walk away with more than a degree – you’ll leave with connections and memories that will benefit you for a lifetime.
TOUR UT MARTIN
PLAN YOUR VISIT
Discover the best of our beautiful campus on a guided tour. Chat with our dedicated admissions counselors to see how UT Martin can be the perfect fit for you and your family.